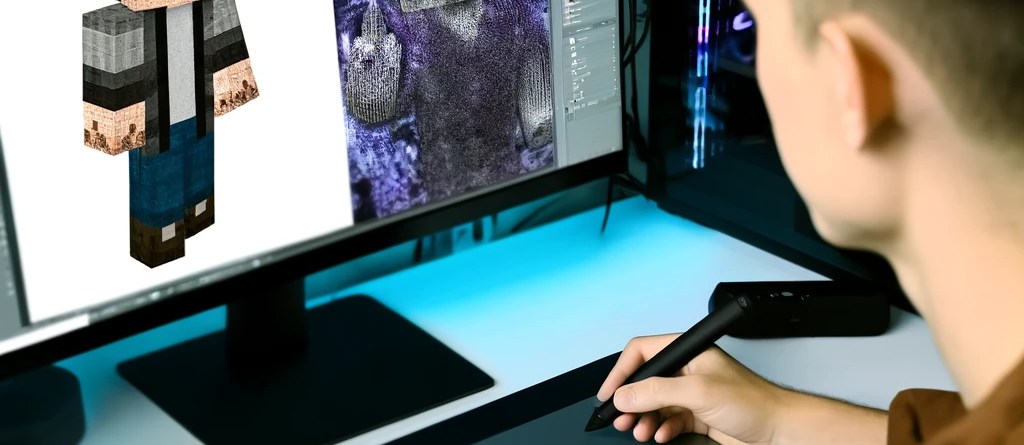
How to create Minecraft Skins with ai
Step 1: Generate the Skin
Visit the Skin Generator website, a tool designed to create Minecraft skins using artificial intelligence. Once on the site, follow the instructions to start generating unique skins. You can choose various parameters to guide the style of your skin or allow the AI to produce random creations.
Step 2: Choose the Most Attractive Skin
After the skins have been generated, the site will display several options. Take your time to browse through them and select the one you like the most. AI can generate a wide variety of designs, so pick one that best matches your personality or the aesthetic you seek for your character in Minecraft.
Step 3: Download Your Skin
Once you’ve made your selection, click on the chosen skin. You should see an option to “Download” or “Download.” Click this button to save the skin to your computer. Make sure to save it somewhere you can easily find it, like your desktop or a dedicated folder.
How to Use Your New Skin in Minecraft
After downloading the skin, you can apply it to your character in Minecraft by following these simple steps:
- Open the Minecraft Launcher.
- Log in to your Mojang or Microsoft account.
- Navigate to the “Skins” tab on the left side of the launcher.
- Click on “Browse” to locate the skin file on your computer.
- Select the file and confirm to apply the new skin to your character.


LEAVE A COMMENT